The decision to fly with skis in Canada isn’t about the baggage fee; it’s about the total logistical cost of your trip.
- Airline fees are often predictable, but the real expenses and risks lie in ground transportation, rental quality, and choosing the wrong ski pass.
- Factoring in mandatory winter tires for mountain highways and the break-even point of a multi-resort pass is more critical than the initial cost of a ski bag.
Recommendation: Create a ‘Total Cost of Skiing’ budget that includes flights, baggage, ground transport, rentals, and lift access before deciding whether to bring your own gear.
Every Canadian skier knows the pre-trip dilemma. You’re staring at your beloved skis, then at your flight confirmation, and the logistical puzzle begins. The common advice is to check airline policies, buy a durable bag, and hope for the best at the check-in counter. Most frequent flyers know that Air Canada and WestJet generally treat a ski or snowboard bag as a standard piece of checked luggage, provided it doesn’t exceed weight limits. But this simple fact misses the bigger picture entirely.
Focusing solely on the baggage fee is a rookie mistake. The true cost and hassle of transporting your gear across Canada go far beyond the airline’s $35 charge. What about the risk of damage? The struggle of wrestling a bulky bag into a rental car? The very real possibility that renting high-performance demo skis at your destination might actually be a better, more economical choice? The logistical calculus of a Canadian ski trip is complex, involving variables that many skiers overlook until it’s too late.
But what if the key wasn’t just avoiding a fee, but mastering the entire system? This guide moves beyond the basics to tackle the real friction points of a Canadian ski trip. We’ll analyze the gear equation of renting versus flying, decipher the non-negotiable rules of winter mountain driving, and break down the economics of the major ski passes. This isn’t just about saving a few dollars on a flight; it’s about optimizing your entire journey for cost, safety, and enjoyment.
This article provides a complete strategic overview for your next Canadian ski adventure. The following sections break down each critical decision point, from the rental shop in Whistler to the steep descents of BC’s mountain passes, to help you make the smartest logistical choices.
Summary: The Complete Guide to Canadian Ski Trip Logistics
- High Performance Rentals: Is it Cheaper to Rent Demos in Whistler than Fly with Skis?
- The Coquihalla Highway: Why You Need Chains or Winter Tires to Reach Big White?
- Epic vs. Ikon vs. Mountain Collective: Which Pass Saves Money for a Canadian Road Trip?
- Frostbite Prevention: How to Ski Safely When It Is -25°C in Banff?
- Whistler vs. Tremblant: Which Resort Has the Best Nightlife Scene?
- Frozen or Live: What is the Safest Way to Fly with 20 lbs of Seafood?
- The North Mountain Descent: How to Save Your Brakes on Steep Grades?
- Tremblant vs. Whistler: Which Resort is Better for Teaching Kids to Ski?
High Performance Rentals: Is it Cheaper to Rent Demos in Whistler than Fly with Skis?
The core of the “fly or rent” debate is the gear equation. On the surface, paying a standard checked bag fee seems cheaper. A round-trip domestic flight on Air Canada or WestJet will typically cost about $70 for your skis. However, this calculation is misleadingly simple. An analysis from Frugal Flyer highlights the nuance: for a five-day trip to Whistler, high-performance rentals can range from $280 to $400, making the $70 baggage fee seem trivial. But the story changes for skiers with airline-affiliated credit cards. Eligible Aeroplan or RBC WestJet World Elite Mastercard holders often get their first checked bag free, completely erasing the baggage fee from the equation.
Beyond the fees, consider the type of gear. If you own standard all-mountain skis, bringing them makes sense. But if you’re heading to Whistler for its legendary powder, renting a pair of fat, powder-specific demo skis for a day or two can elevate your experience far beyond what your own equipment could provide. High-performance rental shops in Whistler offer top-of-the-line models, with daily rates for demo packages often between $56 to $80 CAD. This allows you to ski the perfect board for the day’s conditions without the commitment of a purchase.
Furthermore, there’s a strategic advantage to packing efficiently. As the experts at evo Canada note, packing clothes around your gear in a large ski bag is not just efficient; it also provides crucial extra padding. This wisdom is shared by many seasoned travellers:
Most skiers at evo will travel with only their ski bag and a backpack, fitting all of their clothes in a big double bag is not only more efficient, but it also provides additional padding for your gear.
– evo Canada, evo Whistler Equipment Guide
Ultimately, the decision depends on your trip’s length, your credit card perks, and your desire to ski different types of high-end equipment. For short trips or for those wanting to try the latest models, renting holds significant advantages.
Action Plan: Saving on Whistler Ski Rentals
- Book online at least 48 hours in advance to save up to 20% off walk-in rates.
- Consider multi-day packages; 5-day rentals often have a lower per-day cost than single-day rates.
- Rent from village shops instead of on-mountain locations to avoid premium pricing.
- Compare demo packages; some providers like Black Tie Ski Rentals offer door-to-door delivery.
- Take advantage of early-season discounts in November or late-season deals in April.
The Coquihalla Highway: Why You Need Chains or Winter Tires to Reach Big White?
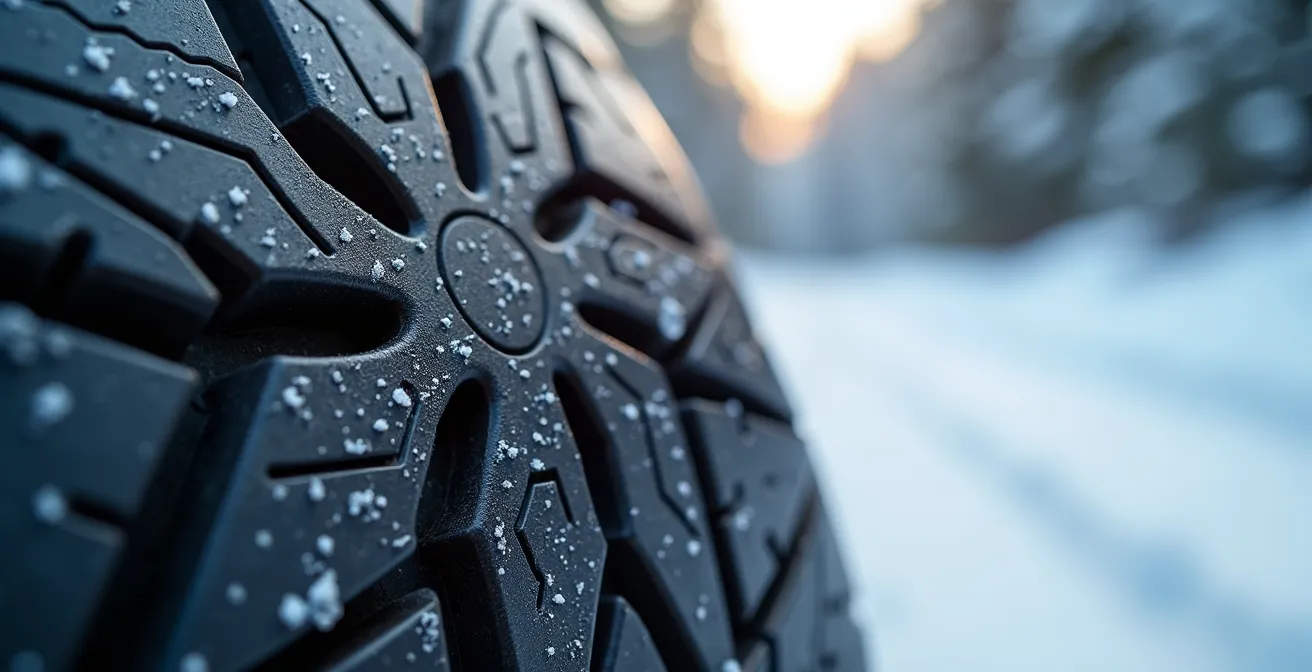
Your logistical calculus doesn’t end when you land. For many of Canada’s premier ski resorts like Big White or Sun Peaks, reaching them involves navigating treacherous mountain passes. The Coquihalla Highway (Highway 5) in British Columbia is infamous for its severe winter conditions and is a perfect example of a critical, often underestimated, logistical factor. The highway sees between 400-500 accidents per winter season, a stark reminder that your rental car’s equipment is a matter of safety, not just convenience. It’s not a suggestion; it’s the law. From October 1 to April 30, all vehicles are required to be equipped with proper winter tires.
The required tires are marked with a specific symbol: the Three-Peak Mountain Snowflake. This indicates the tire meets a higher standard for snow traction than a standard “M+S” (Mud and Snow) tire. Failing to comply isn’t just dangerous; it’s expensive.
As the official data shows, the penalties for non-compliance are significant, especially for commercial vehicles, which are often the cause of major highway closures. The former Minister of Transportation and Infrastructure, Claire Trevena, once highlighted this issue directly:
Last winter, 33 of 35 extended closures on the Coquihalla involved commercial vehicles, and in most cases this was due to truck drivers either poorly installing chains or not using them at all.
– Claire Trevena, Minister of Transportation and Infrastructure
When booking your rental car, you must confirm it is equipped with true winter tires. Do not assume an “all-wheel drive” SUV is sufficient. The grip comes from the rubber, not the drivetrain. The fines for being unprepared are outlined by the province and enforced strictly.
This table from the B.C. government outlines the potential costs of being unprepared, which can quickly dwarf any savings you made on baggage fees. According to the official B.C. winter driving regulations, the fines are clear.
| Vehicle Type | Violation | Fine Amount (CAD) | Section |
|---|---|---|---|
| Passenger Vehicles | Not equipped with winter tires when required | $121 | Section 125 |
| Commercial Vehicles | Bypassing active chain-up area | $598 | Section 208(4) |
| All Vehicles | Enforcement Period | October 1 – April 30 | Provincial Regulation |
Epic vs. Ikon vs. Mountain Collective: Which Pass Saves Money for a Canadian Road Trip?
Choosing the right lift access is another major variable in your “Total Cost of Skiing.” Gone are the days of simply buying day tickets at the window. For any trip longer than a few days, especially a road trip involving multiple resorts, a multi-resort pass like the Epic Pass, Ikon Pass, or Mountain Collective Pass is almost always more economical. The break-even point is typically around four to five ski days compared to purchasing individual lift tickets. However, each pass offers a different portfolio of Canadian resorts, making the choice geographically dependent.
Your planned itinerary is the most important factor in this decision. Here’s a quick breakdown of the major players for a Canadian ski trip:
- Epic Pass: This is the golden ticket if your primary destination is Whistler Blackcomb. It also includes several resorts in the Rockies like Fernie, Kicking Horse, and Kimberley, making it a strong contender for a B.C. or Alberta-based road trip.
- Ikon Pass: The Ikon Pass holds a strong position in both Eastern and Western Canada. It covers Quebec’s Mont-Tremblant and offers extensive access in the Rockies, including Banff’s “Big 3” (Banff Sunshine, Lake Louise, Mt. Norquay) and Revelstoke.
- Mountain Collective Pass: This pass offers a more flexible model, providing two days of access at a collection of elite, independent resorts. In Canada, its partners typically include Revelstoke, Panorama, Sun Peaks, and Banff Sunshine, making it ideal for a shorter, targeted road trip to these specific mountains.
When making your selection, always check for blackout dates, as popular Canadian holiday periods like Family Day or Christmas week are often restricted on base-level passes. For American visitors, the strength of the US dollar can make these passes significantly more affordable. Finally, look beyond just lift access; many passes include valuable partner benefits like discounts on lessons, rentals, and on-mountain dining, further sweetening the deal and contributing to your overall savings.
Frostbite Prevention: How to Ski Safely When It Is -25°C in Banff?
The logistical calculus for a Canadian ski trip must include a crucial, non-financial variable: safety in extreme cold. Destinations like Banff and Lake Louise are famous for their light, dry “champagne powder,” a direct result of frigid temperatures that can easily plummet to -25°C (-13°F) or colder. Skiing in these conditions requires a specific strategy for layering and exposure management to prevent frostbite, a serious and often underestimated risk. The key is to protect exposed skin, especially on the nose, cheeks, ears, fingers, and toes.
A proper layering system is paramount. It starts with a moisture-wicking synthetic or wool base layer, followed by an insulating mid-layer like fleece or down, and finally, a waterproof and windproof outer shell. Avoid cotton at all costs, as it retains moisture and will make you colder. A warm hat or helmet liner is essential, as is a balaclava or face mask that covers your nose and cheeks. For hands and feet, high-quality mittens are generally warmer than gloves, and single-use or rechargeable hand and foot warmers are a non-negotiable part of any deep-winter kit.
This preparedness extends beyond the slopes. The same extreme cold that creates perfect snow also makes a vehicle breakdown far more dangerous. If you get stranded on a mountain pass, your survival depends on having the right gear. Yet, preparedness is surprisingly low; recent data shows that only 36% of Canadians carry a proper winter driving kit in their vehicle. Your kit should include extra blankets or a sleeping bag, high-energy food, water, a flashlight, and extra warm layers. When temperatures are this low, you must be prepared for the worst-case scenario, both on the hill and on the road.
Whistler vs. Tremblant: Which Resort Has the Best Nightlife Scene?
Optimizing your ski trip isn’t just about saving money; it’s about maximizing the value of your experience, and for many, that includes a vibrant après-ski and nightlife scene. Canada’s two giants in this arena are Whistler in British Columbia and Mont-Tremblant in Quebec. While both offer world-class skiing, they provide distinctly different social atmospheres. Your choice between them depends on the “vibe” you’re seeking.
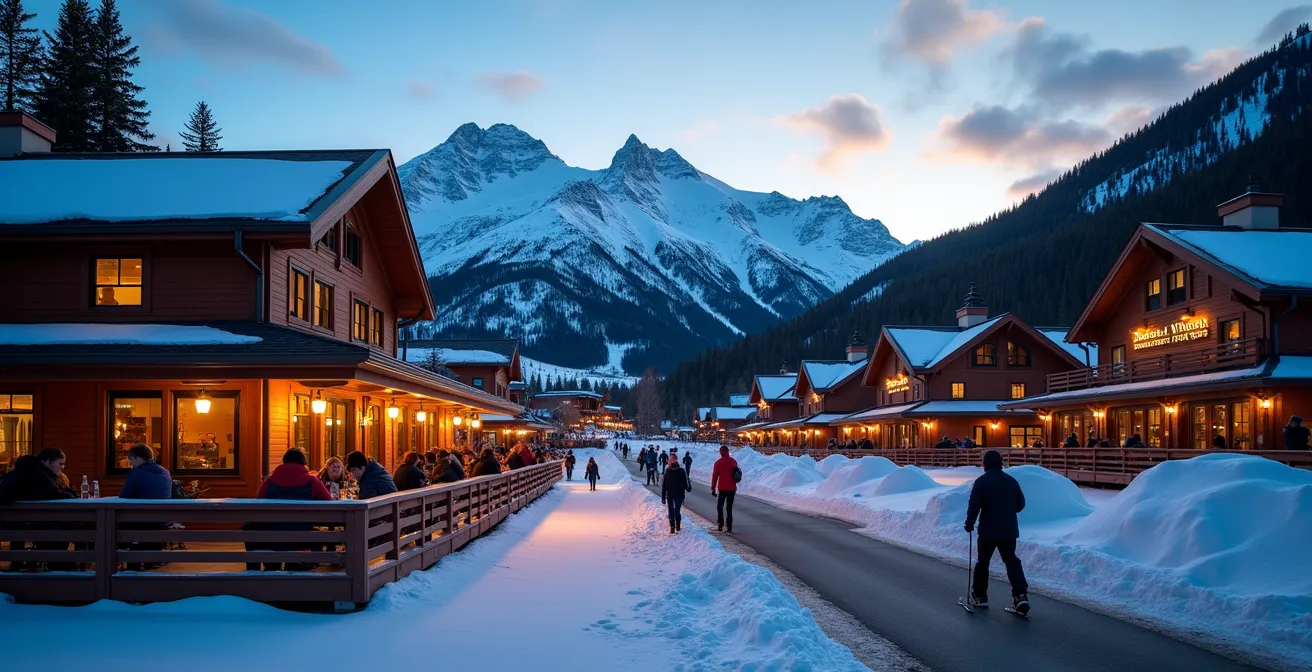
Whistler Blackcomb is, by all measures, the larger and more international destination. As Air Canada Vacations describes it, Whistler is a “fairy tale village” with a sprawling, energetic feel. The pedestrian-only village is packed with dozens of bars, pubs, and high-end restaurants, catering to a diverse, global crowd. The après-ski scene kicks off on the mountain at places like the Garibaldi Lift Co. (GLC) and flows down into the village, continuing late into the night at clubs like Moe Joe’s or Garfinkel’s. The sheer scale and variety of options make Whistler the undisputed champion for those seeking a high-energy, world-class party scene.
Mont-Tremblant, on the other hand, offers a more intimate and distinctly European experience. Located in the Laurentian mountains, its colourful, compact village has a charming, festive atmosphere. The nightlife is lively but more concentrated. The legendary Le P’tit Caribou is consistently ranked among the best après-ski bars in the world, offering a raucous good time right at the base of the mountain. The scene is less about massive nightclubs and more about cozy pubs, sophisticated wine bars, and the undeniable Québécois “joie de vivre.” It’s ideal for those who want a vibrant social scene with a unique, charming, and slightly more relaxed Laurentian flavour.
The visual atmosphere of a bustling ski village at twilight captures the essence of this part of the ski experience.
Frozen or Live: What is the Safest Way to Fly with 20 lbs of Seafood?
An expert-level logistical challenge often arises at the end of a ski trip, particularly in coastal British Columbia: how to fly home with a bounty of fresh or frozen seafood. Whether it’s salmon from a local fishery or spot prawns from Granville Island, transporting 20 lbs of perishable goods requires navigating a specific set of airline and security regulations. The primary choice is between shipping it frozen or, in some cases, live. For air travel, frozen is almost always the safest and most compliant method.
The key to success is proper packaging. Your seafood must be packed in a leak-proof hard-sided cooler. Airlines will not accept a simple styrofoam box unless it’s encased in a sturdy cardboard outer box. To keep the contents frozen, gel packs are a common choice, but they are subject to CATSA (Canadian Air Transport Security Authority) restrictions on liquids and gels if carried on. For checked baggage, frozen gel packs are generally acceptable. A superior option for long-haul travel is dry ice. Air Canada, for example, permits up to 2.5 kg of dry ice per package in checked baggage, as it is a hazardous material. The package must be properly vented to allow carbon dioxide gas to escape and must be labelled with the net weight of the dry ice.
It’s crucial to understand the distinction between airline policy and security rules. CATSA governs what can pass through security screening, while the airline (like Air Canada or WestJet) sets the rules for what it will accept as checked baggage. A properly packed cooler of seafood will count towards your standard checked baggage allowance. As long as it meets the weight and size limits and is packed to prevent leaks and odours, it can be checked just like any other suitcase. Flying with live seafood, like crabs or lobsters, is far more complex and often prohibited by airlines due to the high risk of leaks and spoilage.
The North Mountain Descent: How to Save Your Brakes on Steep Grades?
Just as ascending mountain highways challenges a vehicle’s engine, descending them puts immense strain on its brakes. The Coquihalla Highway, for example, climbs to an elevation of 1,444 meters at the Surrey Lake Summit. The long, steep grades on the descent can easily lead to brake fade or complete failure if not managed correctly. This is not a theoretical danger; between 2004 and 2013, there were 32 fatal crashes recorded on the Coquihalla Highway according to ICBC, many involving loss of control on descents. Saving your brakes is a critical driving skill for any Canadian mountain road trip.
The number one rule is to use your engine to control your speed, not your brakes. Instead of riding the brake pedal, downshift to a lower gear (e.g., from ‘D’ to ‘3’ or ‘2’ in an automatic, or into a lower manual gear). This technique, known as engine braking, uses the engine’s compression to slow the vehicle, keeping your brakes cool and ready for when you actually need them. Your goal should be to maintain a steady speed on the descent with only occasional, firm applications of the brakes, rather than constant, light pressure.
The challenge is real, as explained by Jamie Davis, the star of the show *Highway Thru Hell*, who has spent his career rescuing vehicles from these passes. As an expert quoted on Dangerous Roads points out, “The main factor is you’re driving over a mountain. It’s not a flat road, it’s a mountainous highway… It requires skill to drive.” This skill involves anticipating turns, looking far ahead, and respecting the posted advisory speeds for corners, which are calculated for ideal conditions. In winter, with ice and snow, you need to be travelling even slower. Ignoring the runaway lanes you see on steep descents is a mistake; they are there because even professional drivers can lose their brakes.
Key Takeaways
- Think ‘Total Cost of Skiing’: Your budget must account for baggage, ground transport, rentals, and passes—not just the flight.
- Ground Transport is a Major Factor: Mandatory winter tires and safe mountain driving techniques are critical logistical and safety considerations in B.C. and Alberta.
- The Right Pass is a Game-Changer: For trips over 4-5 days, a multi-resort pass like Epic or Ikon almost always offers better value than day tickets.
Tremblant vs. Whistler: Which Resort is Better for Teaching Kids to Ski?
The final variable in your logistical optimization is ensuring the resort matches your family’s needs, especially when teaching kids to ski. A stressful learning experience can ruin a trip, no matter how much you saved on flights. Whistler and Tremblant both have excellent ski schools, but they cater to slightly different family dynamics. To compare them, it’s helpful to use a benchmark like Big White, which has been dubbed “Canada’s Favourite Family Resort” and recognized for having some of the best beginner terrain on the continent.
The ideal learning environment, as exemplified by Big White’s Happy Valley, features gentle, wide-open slopes, multiple “Magic Carpet” conveyor lifts (which are far less intimidating than chairlifts for first-timers), and a contained, low-traffic area where kids can learn safely. Whistler offers this in spades. The resort has massive, dedicated beginner zones at mid-mountain on both Whistler and Blackcomb, accessible by gondola. This means even novices get a true big-mountain experience. The sheer size of Whistler’s ski school and its specialized programs for all ages make it an incredibly reliable, albeit bustling, choice.
Mont-Tremblant provides a similarly excellent but more contained environment. Its primary learning area is conveniently located at the base of the mountain, making it easily accessible and allowing parents to watch from nearby. The resort’s European-style village is compact and pedestrian-friendly, which significantly reduces family logistical stress. While smaller in scale than Whistler, Tremblant’s terrain distribution dedicates a significant portion to beginners, as the data shows.
| Resort | Beginner Terrain | Intermediate | Expert | Total Acres |
|---|---|---|---|---|
| Big White | 18% | 54% | 28% | 7,355 |
| Whistler Blackcomb | 20% | 55% | 25% | 8,171 |
| Mont-Tremblant | 21% | 46% | 33% | 754 |
Whistler is arguably better for families with mixed abilities due to its vast terrain, while Tremblant’s cozy, centralized layout might be preferable for families with very young children who value convenience and a slightly less overwhelming atmosphere.
By shifting your mindset from simply avoiding baggage fees to optimizing the entire logistical system, you can build a smarter, safer, and more cost-effective Canadian ski trip. The next step is to apply this strategic framework to your own travel plans.
Frequently Asked Questions About How to Transport Ski Gear on Domestic Flights Without Paying Huge Fees?
Can I use dry ice for shipping seafood on Air Canada flights?
Yes, dry ice is permitted as a Class 9 hazardous material with a maximum of 2.5 kg per package, provided the package is properly vented to allow gas to escape and is clearly labeled.
What’s the difference between CATSA security rules and airline baggage policies?
CATSA governs the security screening process, including restrictions on items like gel packs in carry-on luggage. In contrast, individual airlines set their own policies for what they will accept as checked baggage, including specific requirements for perishable items and cooler construction.
Do seafood containers count as regular checked baggage?
Yes, as long as the seafood is packed in an approved, leak-proof container that meets the airline’s weight and size restrictions, it counts toward your standard checked baggage allowance.