The secret to enjoying the Rockies in July isn’t avoiding crowds—it’s mastering the systems that manage them.
- Strategic basecamp choice (like Canmore) offers better value and less congestion than staying in the tourist epicenter of Banff.
- Success depends on logistical hacks: understanding shuttle booking windows, pass economics, and car-free access routes to iconic lakes.
Recommendation: Ditch the rental car dependency for key sights. Use a combination of Roam Transit and the Parks Canada shuttle system to bypass traffic and parking chaos entirely.
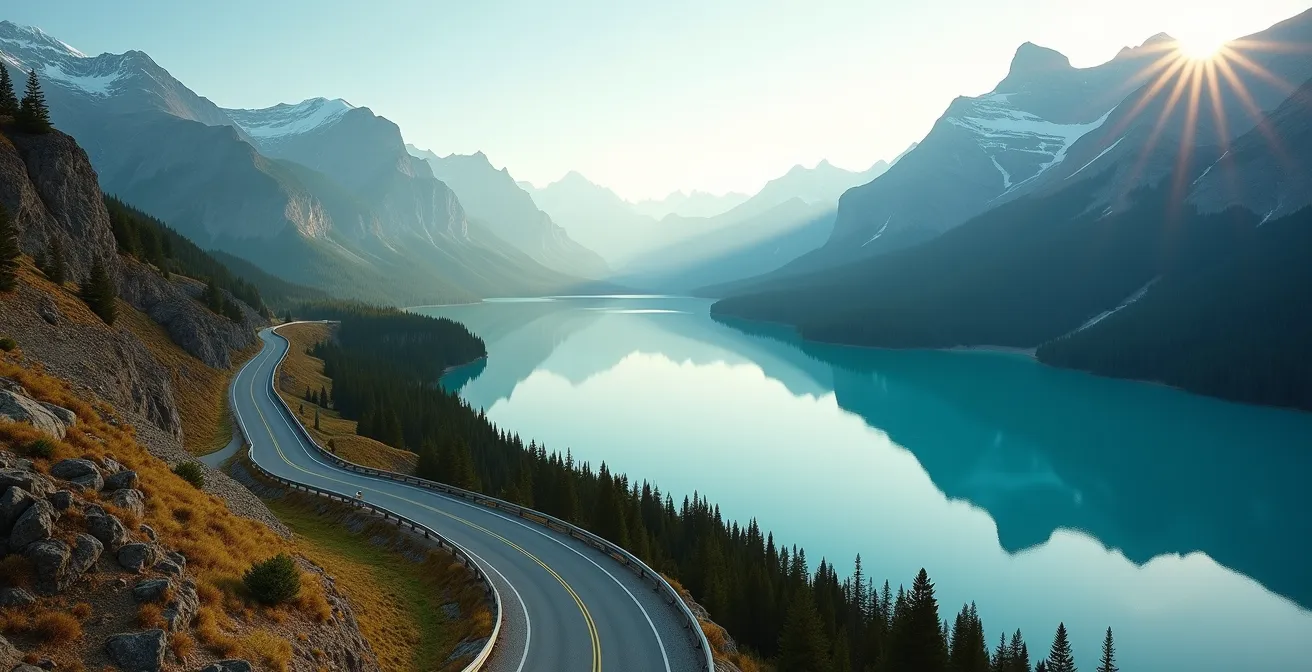
You’ve seen the photos on Instagram: the impossibly turquoise water of Moraine Lake, the majestic peaks cradling Lake Louise. You book your trip to the Canadian Rockies in July, dreaming of serene mountain moments. The reality that often greets you is a different picture: endless brake lights on the Trans-Canada Highway, “LOT FULL” signs by 8 AM, and crowds so thick you feel like you’re in a theme park, not a national park. The standard advice is always the same: “book in advance” and “wake up at dawn.” While not wrong, this advice misses the real strategy.
As a local who calls Canmore home, I can tell you that a fantastic July trip isn’t about just being earlier than everyone else; it’s about being smarter. It’s about understanding and mastering the systems Parks Canada has put in place. This isn’t a battle against other tourists; it’s a game of logistical chess. The key lies in what I call “logistical arbitrage”—making choices that give you a better experience for less hassle. It’s knowing the economics of your park pass, the nuances of shuttle booking, and the strategic advantage of your home base.
Forget the frustration. This guide is your local’s playbook. We’re going to move beyond the generic tips and dive into the specific, actionable strategies that turn a potentially stressful trip into the authentic, breathtaking Rockies adventure you were hoping for. We’ll break down how to choose the right pass, why your basecamp matters more than you think, and exactly how to navigate the now car-free world of Moraine Lake. Get ready to outsmart the crowds, not just race them.
To help you navigate your trip with an insider’s edge, this guide breaks down the essential strategies for a crowd-free experience. From the fundamental economics of your park pass to the tactics for securing a spot at the most sought-after lakes, you’ll find everything you need to plan a smarter journey.
Summary: A Local’s Guide to Visiting Banff & Jasper in July
- Daily vs. Discovery Pass: Which Parks Canada Option is Cheaper for a 6-Day Trip?
- Why You Feel Dizzy at Lake Louise: Recognizing Mild Altitude Sickness Symptoms
- Canmore or Banff: Which Town Base Offers Better Value for Hikers?
- The “Elk Jam” Danger: Why Stopping for Photos on the Highway is Illegal
- Snow in August: What Layers Are Essential for the Icefields Parkway?
- Do You Need a Parks Canada Pass Just to Drive Through Banff National Park?
- The 8 AM scramble: How to Secure a Parks Canada Shuttle Ticket 48 Hours Before?
- How to Visit Moraine Lake Now That Private Cars Are Banned?
Daily vs. Discovery Pass: Which Parks Canada Option is Cheaper for a 6-Day Trip?
The first decision you make before even setting foot in the park is a financial one: your Parks Canada Pass. This isn’t just an entry ticket; it’s your first opportunity for “logistical arbitrage.” Many visitors default to buying a daily pass, thinking it’s the most straightforward option. However, this is often a costly mistake for trips longer than a few days. The math is simple: for a family or group, the break-even point for an annual Discovery Pass is just seven days. For a six-day trip, the cost is so close that the annual pass becomes the smarter buy.
The Discovery Pass isn’t just about saving a few dollars. It covers up to 7 people in one vehicle for 12 months at over 80 national parks and historic sites across Canada. This means if your trip includes a visit to Jasper, or if you plan to visit any other Parks Canada site within the year (like Elk Island near Edmonton or Pacific Rim on Vancouver Island), the value multiplies instantly. Think of it as an investment in future adventures.
This table breaks down the cost for a family or group on a typical six-day trip to the mountain parks. As you can see, choosing the Discovery Pass from the outset simplifies your trip and provides superior value, even before you factor in access to other national parks.
| Pass Type | Cost (Family/Group) | 6-Day Total | Valid Locations | Break-Even Point |
|---|---|---|---|---|
| Daily Pass | $22.00 CAD | $132.00 CAD | Mountain Parks Only | N/A |
| Discovery Pass (Annual) | $151.25 CAD | $151.25 CAD | 80+ Parks Canada Sites | 7 days |
Opting for the Discovery Pass is a classic local’s move. You buy it once, hang it on your mirror, and forget about it. No fumbling for receipts or worrying if your pass has expired. It’s the first step in streamlining your trip to focus on the mountains, not the administration.
Why You Feel Dizzy at Lake Louise: Recognizing Mild Altitude Sickness Symptoms
Many visitors arrive in the Rockies and are surprised to feel unusually fatigued, dizzy, or short of breath while doing simple activities. They often blame jet lag or a poor night’s sleep, but the real culprit is frequently the elevation. The air is thinner here, and your body needs time to adjust. Recognizing the symptoms of mild Acute Mountain Sickness (AMS) is crucial for a safe and enjoyable trip. These symptoms include headache, dizziness, fatigue, nausea, and difficulty sleeping.
This isn’t just a concern for hardcore mountaineers. The village of Lake Louise is the highest townsite in Canada, and Emergency Care BC confirms that Lake Louise sits at 1,600m (5,249 ft), an elevation where AMS can easily begin. Many popular trails and viewpoints climb significantly higher. The best prevention is gradual acclimatization. If you’re flying into Calgary (1,048m), spending a night or two in a town at a mid-range elevation like Canmore (1,309m) before heading to Lake Louise can make a significant difference.
This visual map illustrates the concept of stepping up your elevation gradually, allowing your body to adapt before you reach the highest points of your trip.
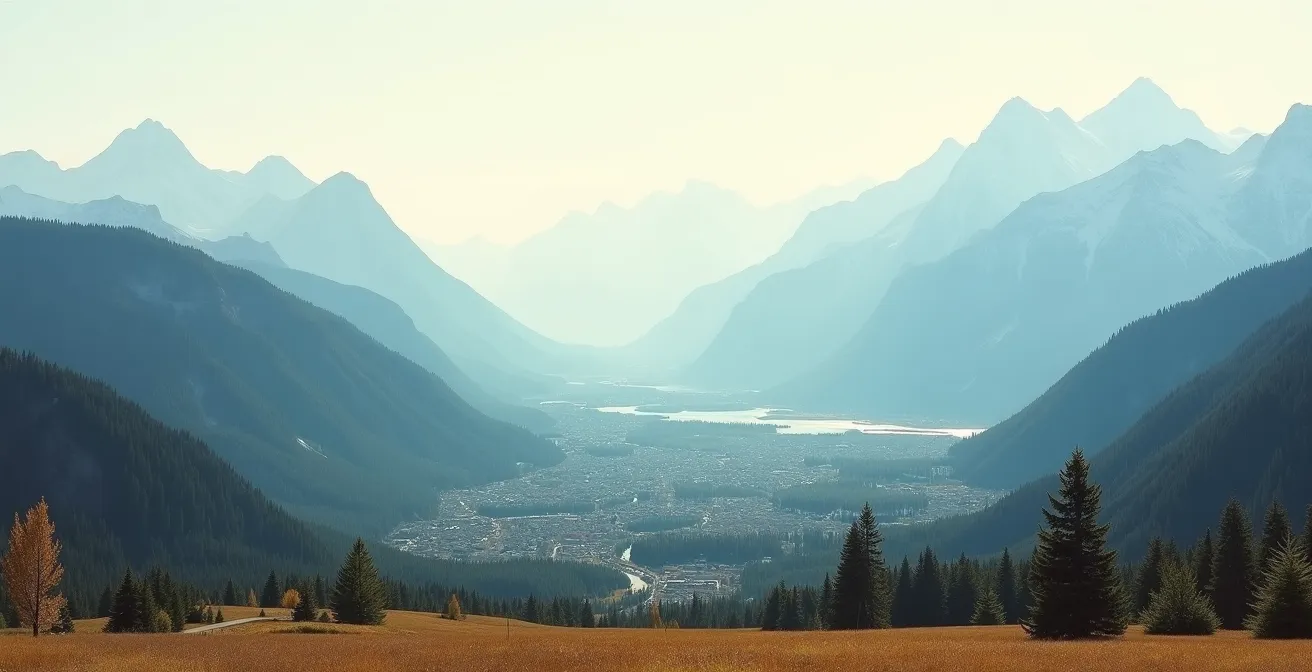
As the diagram shows, a staggered ascent is gentler on your system. The golden rules are simple: stay well-hydrated (drink plenty of water, not just coffee or alcohol), avoid strenuous exercise on your first day at a higher altitude, and listen to your body. If you feel symptoms, don’t push higher. Descend to a lower elevation if they worsen. This isn’t about fitness; it’s about physiology. A slow start ensures a strong finish to your mountain holiday.
Canmore or Banff: Which Town Base Offers Better Value for Hikers?
Choosing your basecamp is arguably the most critical decision for shaping your Rockies experience, especially if you’re a hiker who dreads crowds. While Banff is the famous name, many seasoned visitors and locals prefer Canmore for its superior value and more authentic mountain-town atmosphere. From a “basecamp economics” perspective, Canmore offers significant advantages that directly combat the frustrations of peak season.
The most immediate benefit is cost. Accommodation in Canmore is often 30-40% lower than in Banff for comparable quality. This saving can be reallocated to other parts of your trip, like a guided tour or a nice meal. But the value extends beyond the hotel bill. Canmore provides direct access to Kananaskis Country, a vast provincial park with stunning, less-trafficked hikes that are on par with anything in Banff. This gives you high-quality hiking options right on your doorstep for days when you want to escape the national park crowds entirely.
While Banff is the hub for the Parks Canada shuttle system, it’s easily accessible from Canmore. The local Roam Transit system offers a direct and affordable bus route to Banff. A day pass often costs less than what you would pay for parking in Banff (if you could even find a spot). This “park and ride” strategy allows you to enjoy Canmore’s lower costs and quieter evenings while still fully accessing Banff’s infrastructure. It’s a perfect example of logistical arbitrage.
| Criteria | Canmore | Banff |
|---|---|---|
| Average Hotel Cost | 30-40% lower | Premium pricing |
| Access to Kananaskis | Direct access | 30+ min drive |
| Parks Canada Shuttle | Connect via Roam Transit | Direct access |
| Crowd Levels | Moderate | Very High (summer) |
| Local Vibe | Authentic mountain town | Tourist epicenter |
In short, if your priority is hiking and experiencing an authentic mountain community, Canmore is the strategic choice. You trade the tourist-centric bustle of Banff Avenue for a more relaxed atmosphere, better value, and a “backdoor” access to world-class trails, all without sacrificing access to the main attractions, as a recent analysis of Banff itineraries points out.
The “Elk Jam” Danger: Why Stopping for Photos on the Highway is Illegal
Seeing a majestic elk or a grizzly bear by the side of the road is an unforgettable part of any trip to the Rockies. The instinct is to immediately slow down, stop, and grab your camera. This creates a “wildlife jam” or an “elk jam,” and it is one of the most dangerous and disruptive situations in the park. Not only is it illegal to stop on a major highway for non-emergency reasons, but it also poses a severe risk to yourself, other drivers, and the wildlife.
The Trans-Canada Highway (Highway 1) is not a leisurely country road; it’s a major national transport corridor. Vehicles, including large semi-trucks, are travelling at high speeds. A sudden stop can easily cause a chain-reaction rear-end collision. Parks Canada is unequivocal in its safety advice on this matter. As their official guidelines state, you must use designated pull-outs and viewpoints only.
Never stop on the Trans-Canada Highway for wildlife – use only designated pull-outs. The 90 km/h speed limit and high volume of transport trucks create major rear-end collision risks.
– Parks Canada Safety Advisory, Banff National Park Wildlife Viewing Guidelines
Furthermore, stopping on the highway habituates wildlife to humans and vehicles, which can lead to them becoming too comfortable and increasing the chances of an animal being struck. If you want to view wildlife safely, seek out the park’s scenic drives like the Bow Valley Parkway or the Icefields Parkway, where there are numerous designated pull-outs designed for this exact purpose. Always stay in your vehicle, and never feed the animals. Your best photo opportunity is one that is safe for everyone involved.
Snow in August: What Layers Are Essential for the Icefields Parkway?
Driving the Icefields Parkway is a highlight of any Rockies trip, a stunning 232-kilometre journey through glaciers, waterfalls, and towering peaks. But the weather along this route is notoriously fickle and can change in an instant. It is not an exaggeration to say you can experience all four seasons in a single day. Leaving Canmore in sunny, 20°C weather and finding yourself in a 2°C snow flurry at Bow Summit an hour later is a classic Parkway experience.
The key to comfort and safety is a proper layering system. Cotton is your enemy; it absorbs moisture and stays wet, making you cold. Instead, think in three layers that you can add or remove as conditions change. This system is essential, not just for hiking, but even for short walks from the car to a viewpoint. The dramatic temperature shifts are due to the significant changes in elevation. As experienced Rocky Mountain travelers report, Bow Summit reaches 2,088m elevation with a potential 10-15°C temperature drop from the valley floor. Add the katabatic winds—cold, dense air rolling off the Columbia Icefield—and you have a recipe for a sudden chill.
The dramatic shifts in weather are a hallmark of the high alpine environment along the parkway, where a sunny valley can quickly give way to snowy peaks.

Having the right gear makes the difference between a miserable experience and an unforgettable adventure. Don’t be caught off guard. Even if it’s a beautiful summer day in the valley, pack for winter. You’ll almost certainly be glad you did.
Your Essential Parkway Layering and Safety Checklist
- Base Layer: Start with a moisture-wicking merino wool or synthetic shirt. This pulls sweat away from your skin to keep you dry.
- Mid Layer: Add an insulating layer for warmth, such as a fleece or a lightweight down or synthetic insulated jacket.
- Outer Shell: Top it off with a waterproof and windproof jacket. This is your shield against the notorious winds and sudden rain or snow.
- Emergency Kit: Keep an emergency kit in your car with a power bank, a paper map (cell service is non-existent), extra water, and high-energy snacks.
- Accessories: Don’t forget a toque (beanie), gloves, and warm socks. These small items make a huge difference when the temperature plummets.
Do You Need a Parks Canada Pass Just to Drive Through Banff National Park?
This is one of the most common questions, and the answer has an important nuance that catches many travellers off guard. The rule is this: you can drive on the Trans-Canada Highway (Highway 1) through Banff National Park without a park pass, provided you do not stop. This exception is designed for commercial traffic and travellers whose destination is outside the park, such as Golden, BC. However, the moment you stop for any reason, you are required to have a valid pass.
What constitutes a “stop”? According to Parks Canada regulations, any exit from the highway into the town of Banff for gas, a detour onto a scenic route like the Bow Valley Parkway, or a stop at a viewpoint like Vermilion Lakes officially voids the transit exception. Park wardens regularly perform spot checks at popular exit ramps and day-use areas, and fines for non-compliance can be hefty. It’s a risk not worth taking.
The confusion often multiplies when it comes to the other major highway in the region: the Icefields Parkway (Highway 93N). Here, the rule is different and absolute. A valid Parks Canada Pass is required for the entire 232km length of the Icefields Parkway, which connects Lake Louise to Jasper. There is no transit exception. Even if you only plan to drive a few kilometres to see the Crowfoot Glacier, you must have a pass. The parkway is considered a recreational and scenic experience in its entirety, not a transit corridor.
So, the local’s advice is clear: unless you are 100% certain you will not stop for any reason while on the Trans-Canada, buy the pass. It removes all ambiguity and stress, allowing you to stop spontaneously at a beautiful viewpoint or make a necessary fuel stop without looking over your shoulder. It’s part of the cost of enjoying this incredible landscape.
The 8 AM scramble: How to Secure a Parks Canada Shuttle Ticket 48 Hours Before?
With private vehicles banned from Moraine Lake road, the Parks Canada shuttle has become the primary way to access this iconic spot. This has created a twice-daily digital showdown known as the “8 AM scramble.” Parks Canada releases 50% of the shuttle seats for the season in the spring, which are quickly snapped up. The remaining 50% are released exactly 48 hours in advance at 8:00 AM Mountain Time (MT). These tickets often sell out in minutes, if not seconds. Winning this scramble requires strategy and preparation.
This isn’t a lottery; it’s a test of speed and efficiency. You need to be logged into the Parks Canada Reservation Service website before 8:00 AM. Your payment information and personal details should be pre-saved in your account to minimize clicks during checkout. We locals know that using a desktop computer is generally faster and more reliable than a mobile device for navigating the system under pressure. Have your desired date and time slot chosen in advance so you can click, add to cart, and check out without hesitation.
But what if you lose the scramble? Don’t panic. You have excellent backup plans.
- Plan B (Roam Transit): Immediately pivot to the Roam Transit website. Their “Super Pass” for Route 8X (the Lake Louise scenic route) can be booked in advance and gets you to Lake Louise. From there, you can connect to Moraine Lake.
- Plan C (Tour Operators): Local tour operators in Banff and Canmore have their own vehicles and commercial access. While more expensive, they offer guaranteed access, often with added value like a guided tour.
- The Evening Hack: Many people book speculative tickets and cancel them. Check the reservation site the night before your desired day. You can often find last-minute cancellations popping up, especially between 7 PM and 10 PM MT.
This multi-pronged approach transforms the stressful “scramble” into a manageable part of the logistical puzzle. You have options, so long as you’re prepared to act quickly.
Key takeaways
- System Mastery is Key: Your experience is defined less by waking up early and more by understanding and using the shuttle, pass, and transit systems to your advantage.
- Basecamp Economics: Choosing Canmore over Banff provides significant cost savings, less congestion, and better access to the vast Kananaskis park system without sacrificing access to Banff’s main attractions.
- Car-Free is Smart: For iconic and congested areas like Lake Louise and Moraine Lake, ditching the car in favour of shuttles and Roam Transit eliminates the single biggest source of frustration: parking.
How to Visit Moraine Lake Now That Private Cars Are Banned?
The 2023 ban on private vehicles at Moraine Lake was a game-changer. While it caused initial concern, it has ultimately improved the experience by eliminating the chaotic parking situation and constant traffic. Visiting now requires a bit more planning, but it’s a far more pleasant and predictable experience. You have several excellent options, each with different trade-offs in terms of cost, flexibility, and comfort.
The Parks Canada Shuttle is the most common and balanced option. It’s affordable and reliable, but you are tied to a fixed schedule. A pro tip for “system mastery”: book a shuttle to Lake Louise first. Your reservation includes access to the free “Lake Connector” shuttle, which runs between Lake Louise and Moraine Lake. This is a brilliant two-for-one strategy that allows you to see both iconic lakes on a single reservation, maximizing its value.
For those seeking more flexibility or a lower-cost option, the Roam Transit bus system is an excellent choice. It operates on a regular public transit schedule, giving you more freedom than the Parks Canada shuttle. For the ultimate in freedom and a chance to see the iconic sunrise (which shuttles don’t accommodate), a private tour or cycling are your best bets. Cycling the 14km uphill road is a serious physical challenge with a 500m elevation gain, but it offers an unparalleled sense of accomplishment and total flexibility.
| Access Method | Cost | Time Flexibility | Sunrise Access | Comfort Level |
|---|---|---|---|---|
| Parks Canada Shuttle | Moderate | Fixed schedule | No | High |
| Roam Transit | Low | Regular schedule | No | Medium |
| Private Tour | High | Flexible | Yes | Very High |
| Cycling (14km) | Bike rental only | Total flexibility | Yes | Low (500m elevation gain) |
The car ban has transformed Moraine Lake from a chaotic free-for-all into a manageable, world-class destination. By understanding these options, you can choose the method that best fits your budget, fitness level, and desired experience, ensuring your visit is memorable for all the right reasons.
By embracing these local strategies—from choosing the right basecamp to mastering the shuttle systems—you can transform your July visit to Banff and Jasper. You’ll spend less time in traffic and more time breathing the fresh mountain air, turning what could be a stressful ordeal into the serene and awe-inspiring adventure you came for.